SITREP: Painting 3D Printed Scenery
One positive of tidying up in preparation to move house is going through my workshop/printing room and finding things I’ve 3D printed but haven’t yet had a chance to actually paint and get on the tabletop. Having owned a 3D printer for almost two years (that’s also concerning), I have had one or two things fall into this category. Looking for some easy wins, I dived in on these two projects I had discovered and quickly hammered them out.

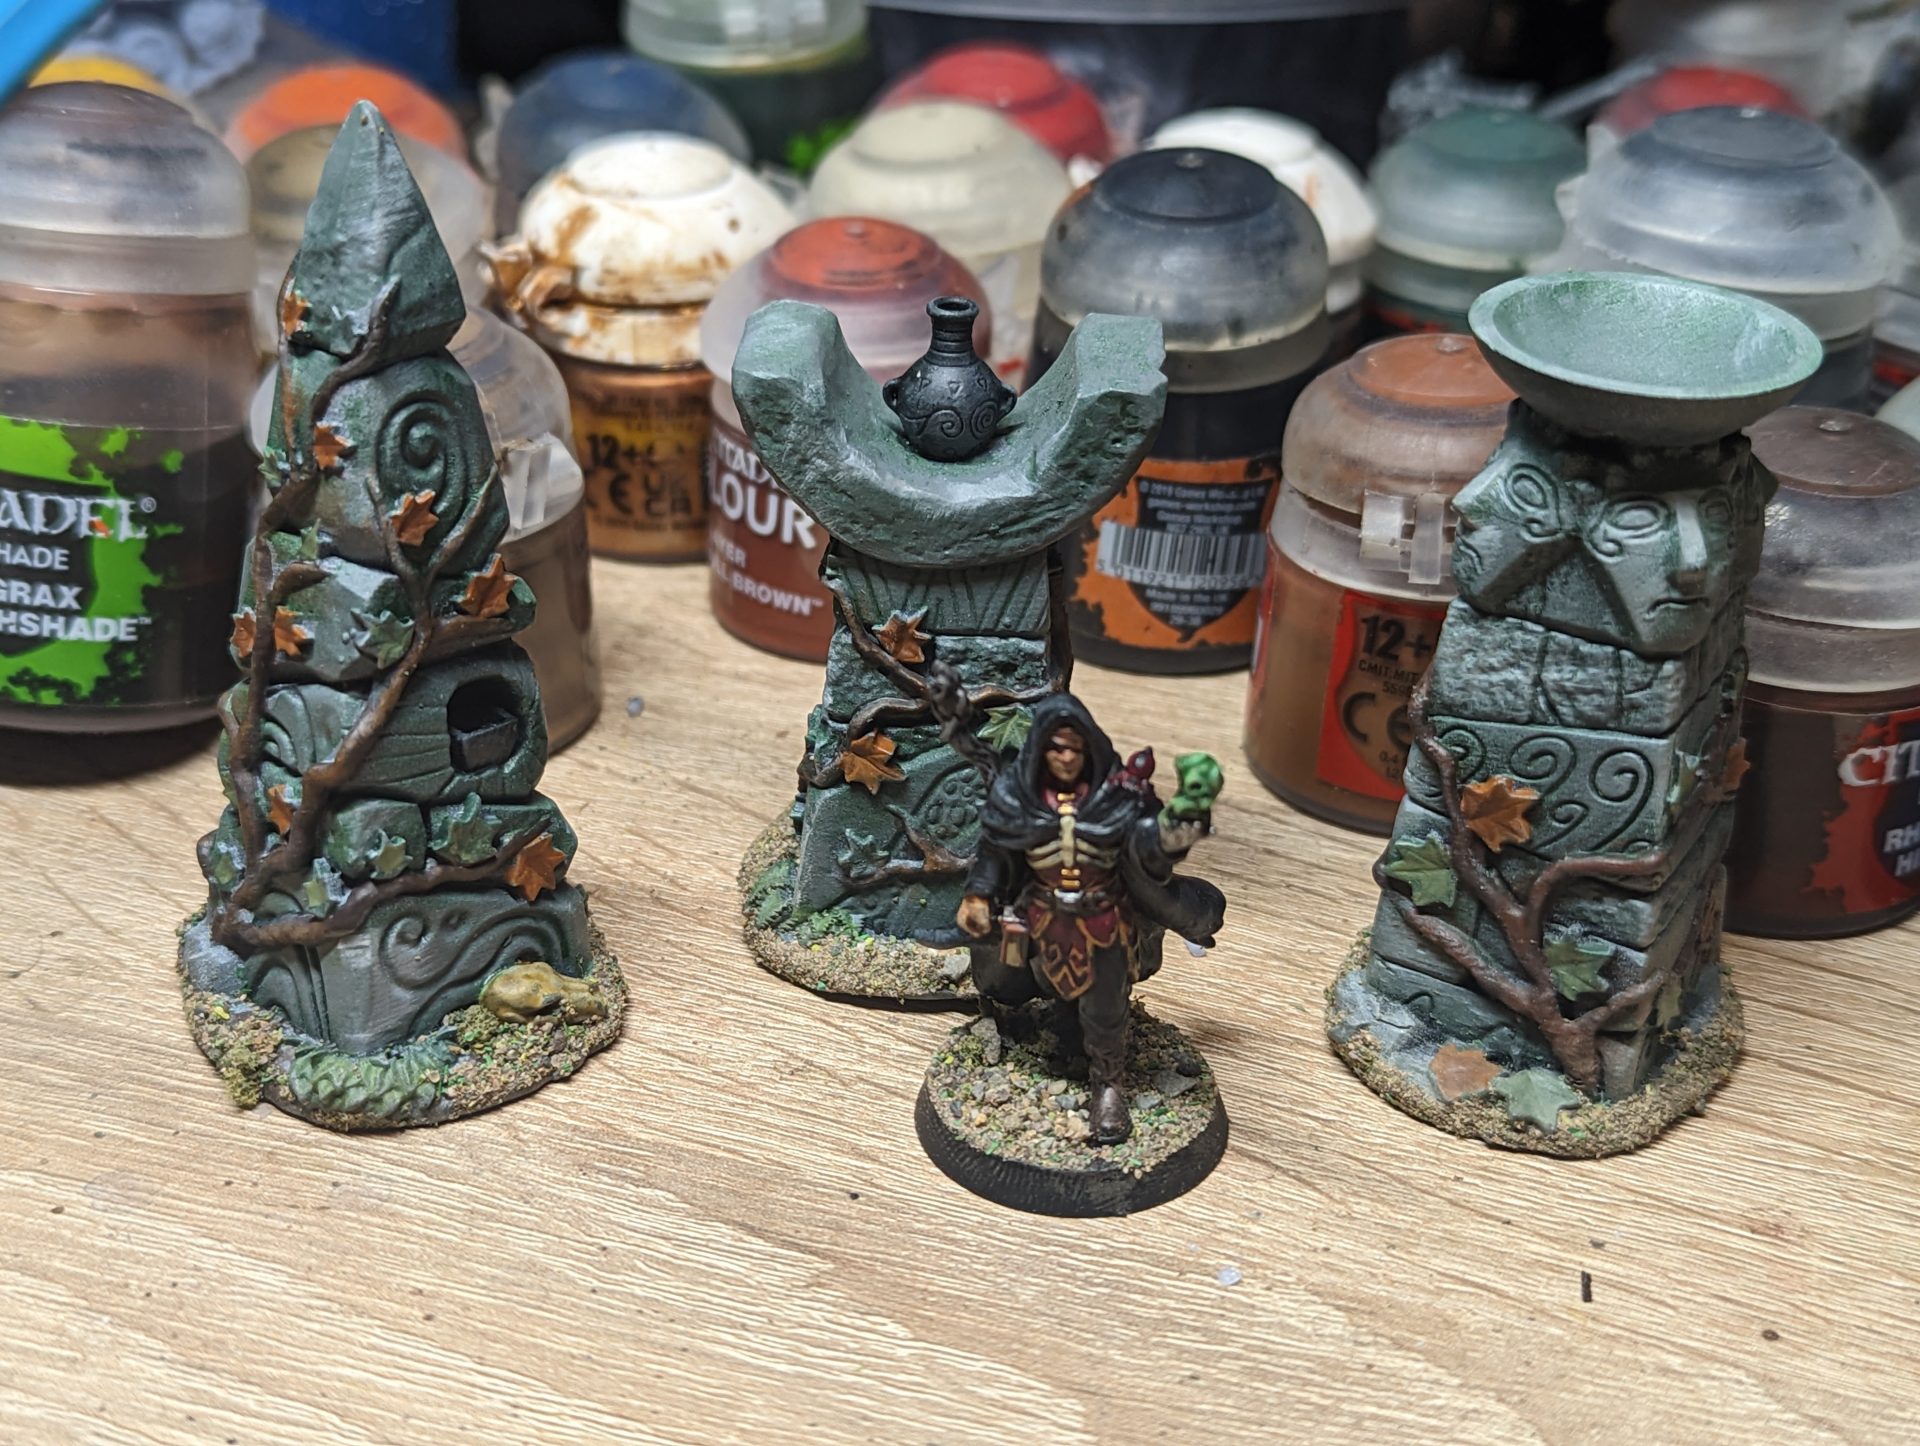
First up, we had these three Wood Elf monoliths from Last Sword Miniatures. These pieces were one of the things that really grabbed me about the Kickstarter they ran (alongside the lovely models that Last Sword are experts at hammering out). These pieces are something that would be really handy for any fantasy game either as background dressing for encounters or maybe even objectives by themselves (perhaps protecting their magical energy from an evil sorceress and her minions).
I printed these with their bases on the print bed using my resin 3D printer using my usual settings. I then undercoated them using a variant of the Zenithal Shading (black, grey, white). I then painted it Dawnstone Grey, before applying a green wash to give it a slightly mossy look, touching it up with a makeup brush of Dawnstone to dial the mossy look back. For the vines and leaves, I went for an autumnal look, a mix of greens and browns to sell the end-of-summer visuals or to let them look like monoliths to a power that has withdrawn, making the edge of an ancient forest that is slowly being encroached on.
I’m really happy with how they have come out – there are a few printing lines you can see at the right angle but they don’t detract from how good they look on the table. I’m definitely going to print some more things that are a similar style to these – they fill a nice slot between random scatter and full-size buildings, giving you some more interesting objects for gameplay to interact with.
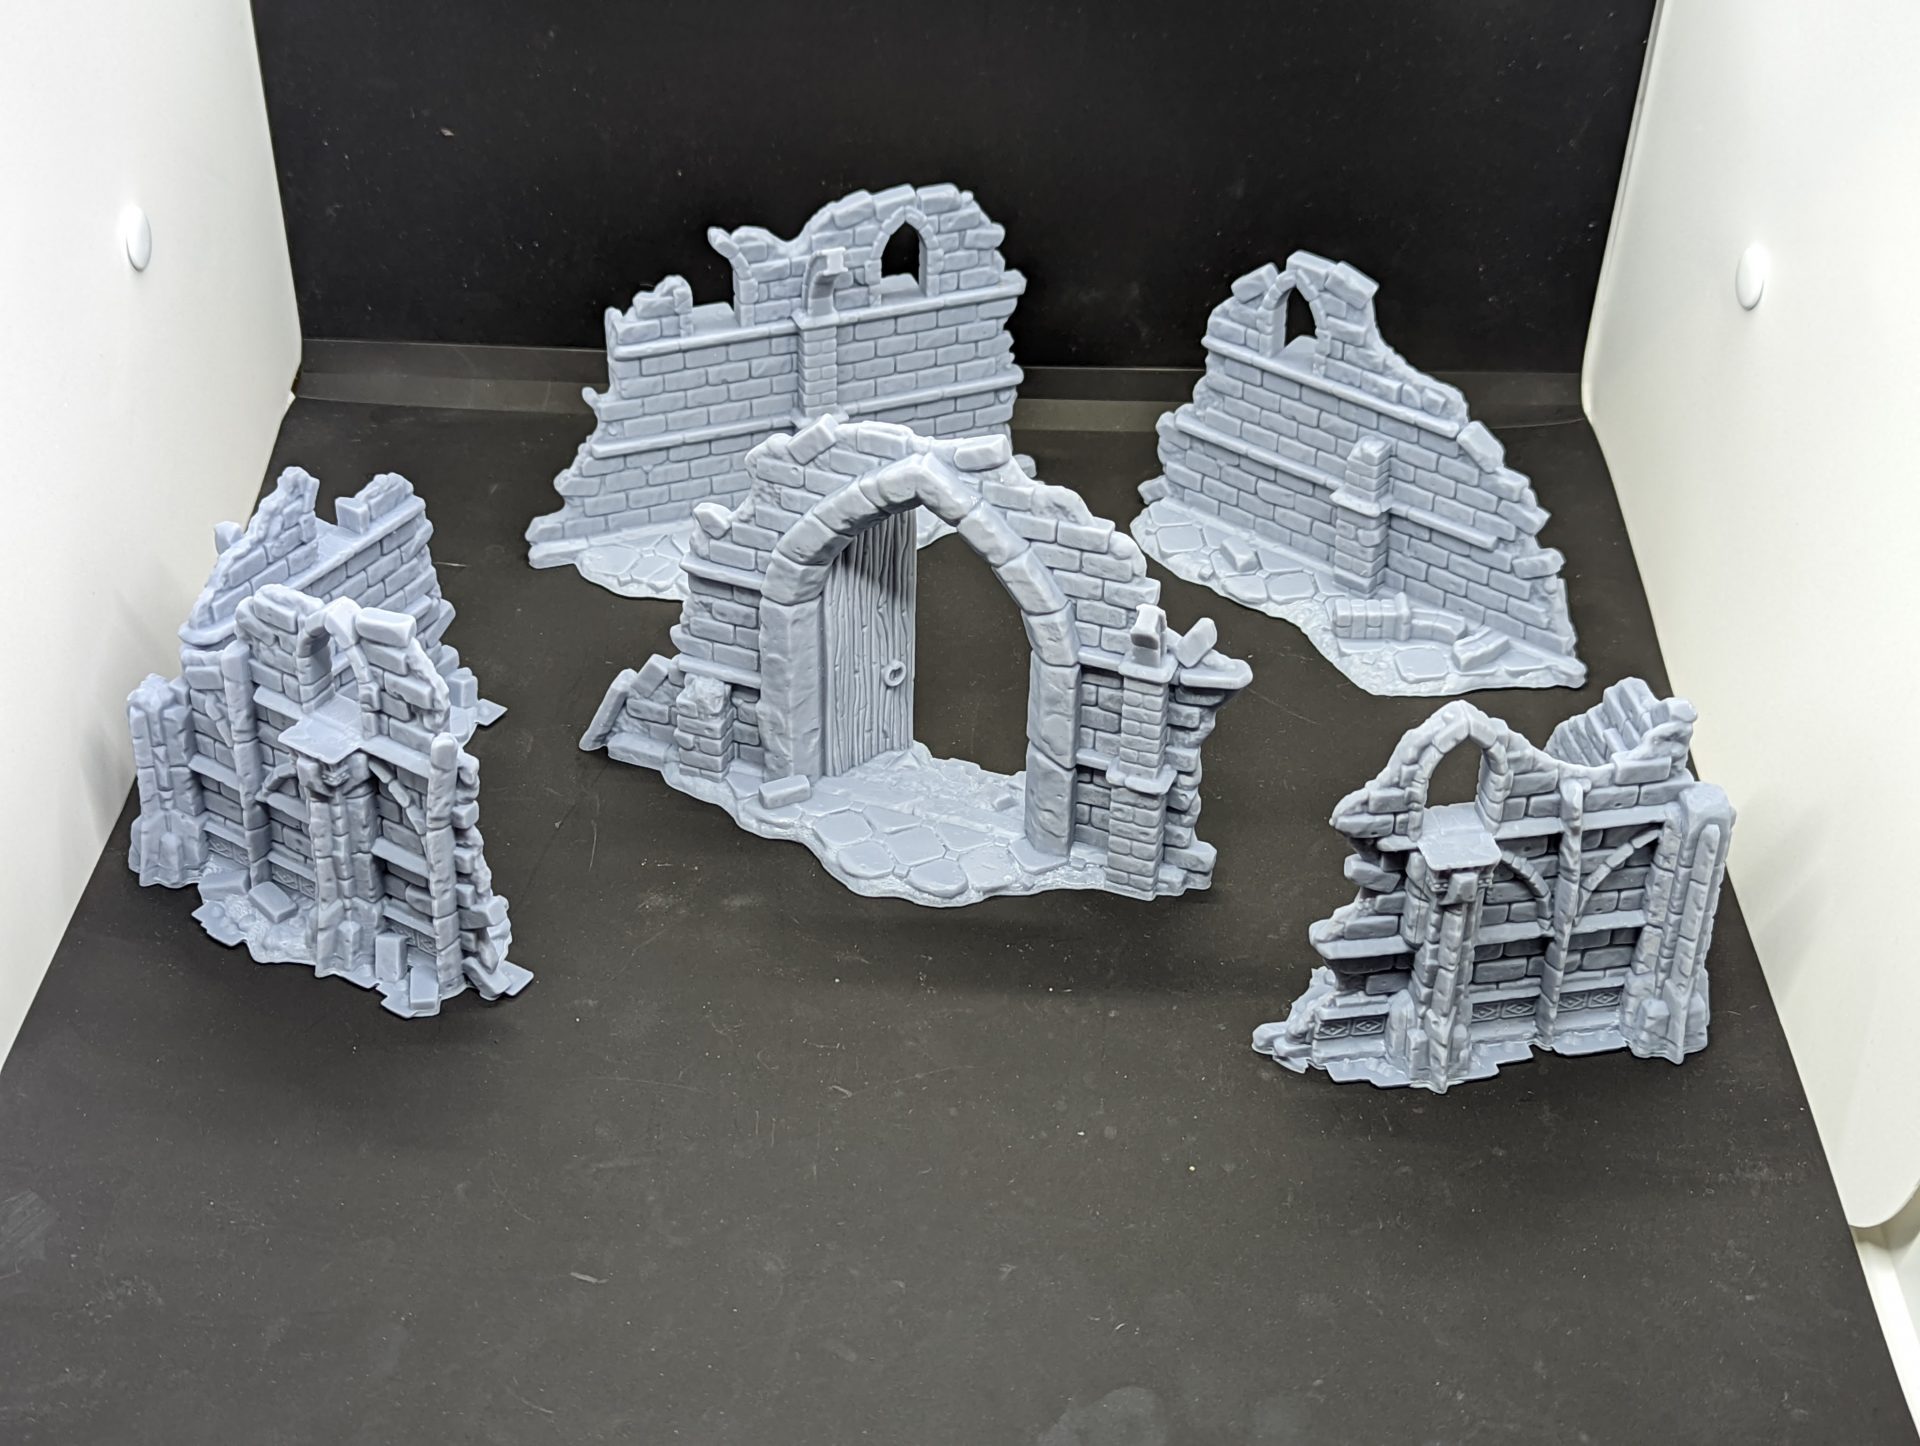
The other thing I had to paint up was this set of ruins from Vae Victis. These were handed out from their Advent Calendar last year and was one of the first large things I printed on my Saturn. I had two pieces fail (and they are now in my misprints pile) but the main parts all came out well. I had to do a little cleanup on them, removing sections where supports had existed to keep the details in place during printing. I did this AFTER having cured them, which required some sanding (and masking up to stop resin dust from getting in my lungs).
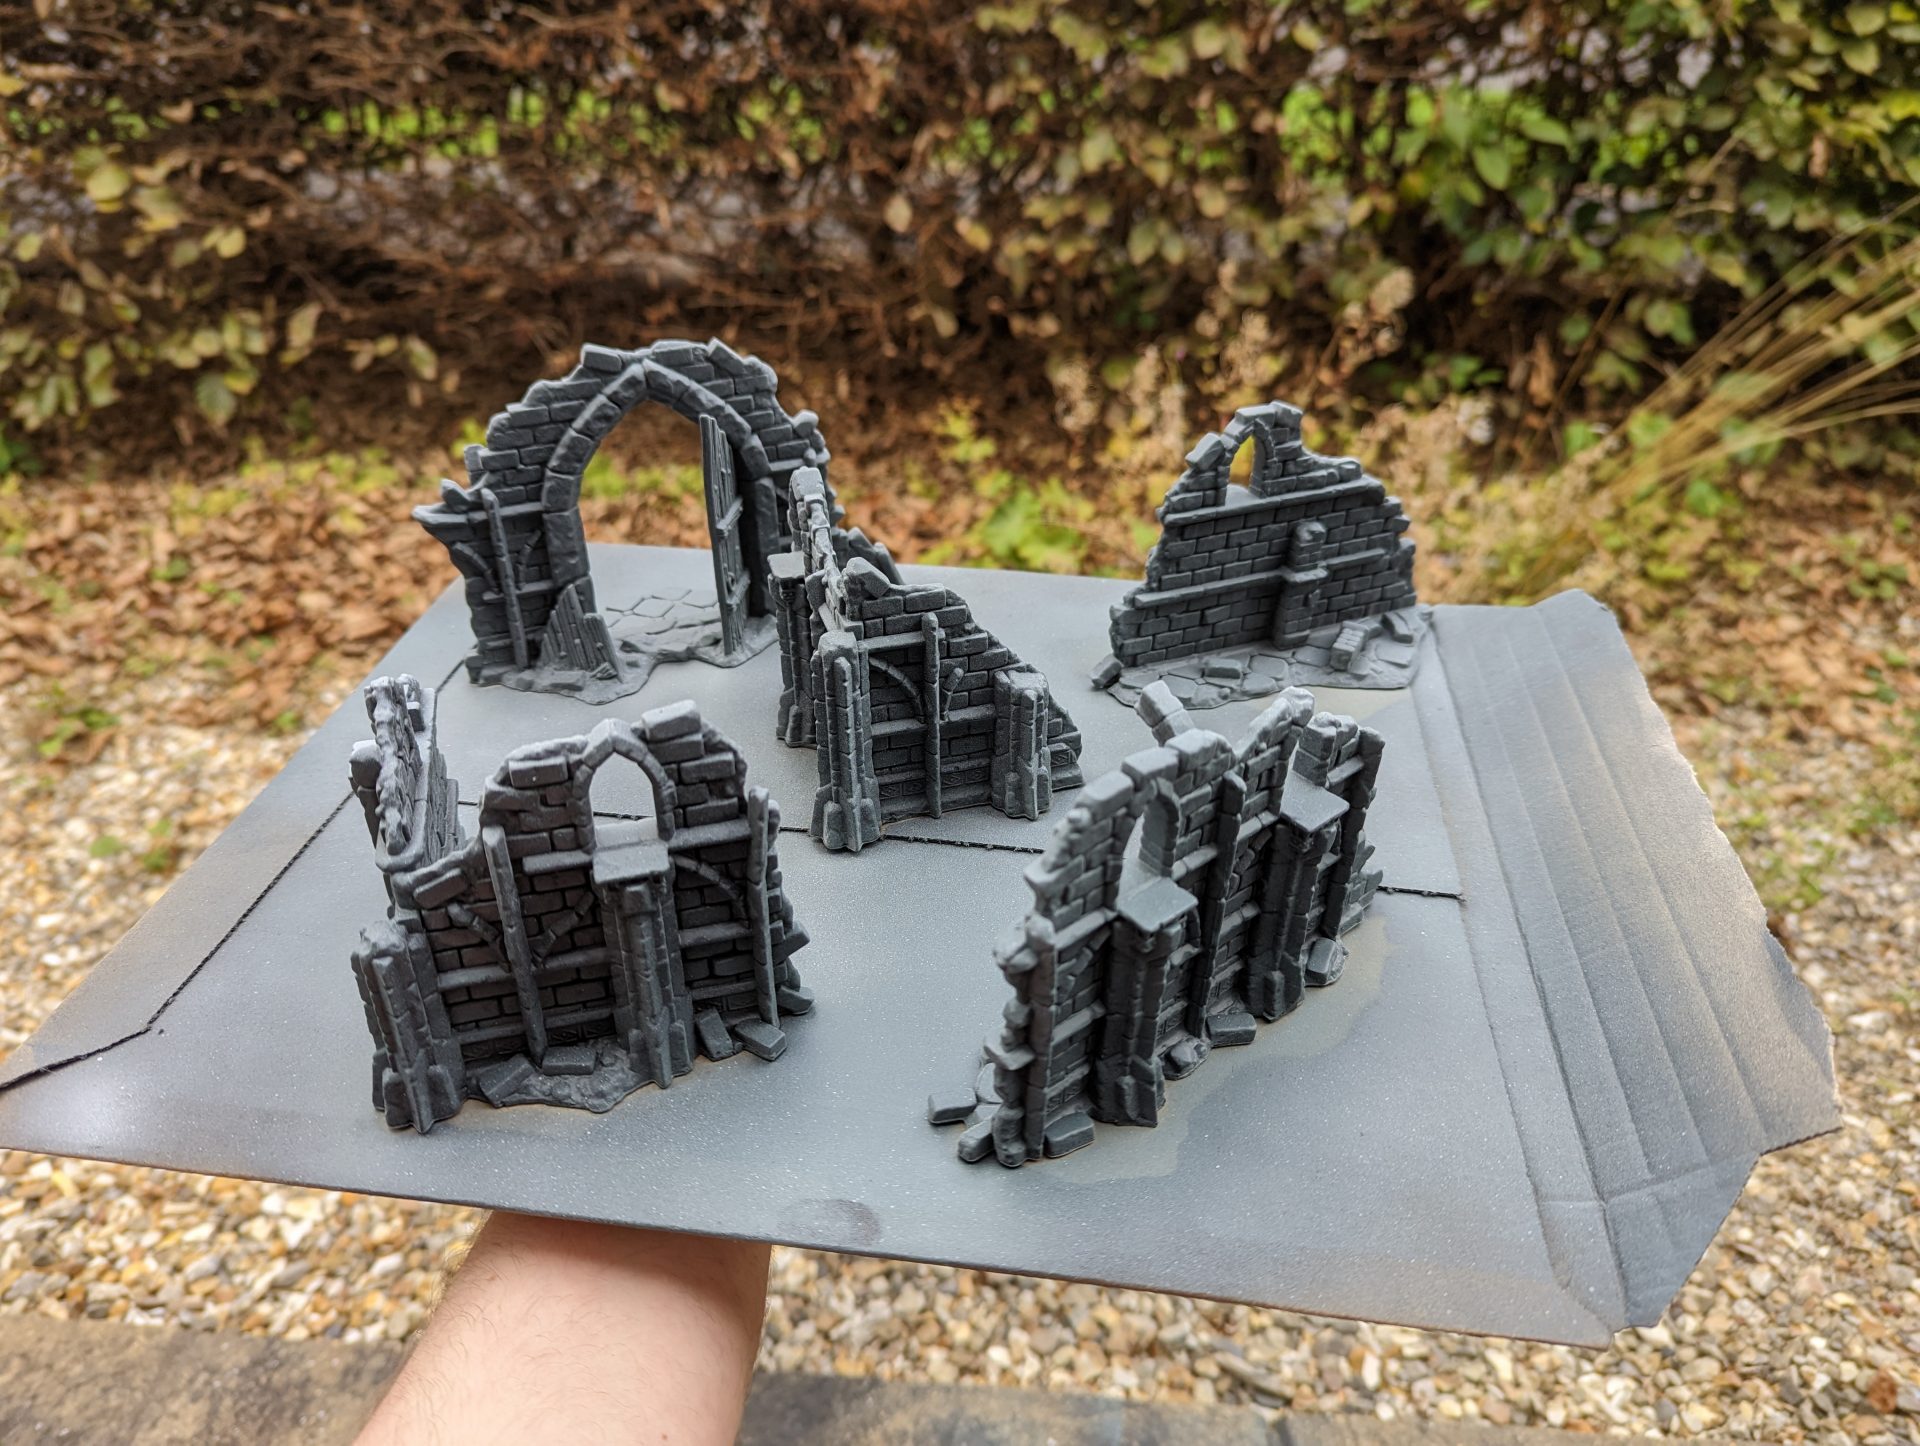
Painting up was again a case of three rattle cans (Black, grey and white) using the Zenthial method before breaking out the BIG make-up brushes to perform what can be best described as hard drybrushing. Rather than removing all the paint from the brush, instead you leave plenty on there so it catches the upper portions. Using less paint, a smaller makeup brush using light grey then adds the higher tones. The wooden door was also painted up, using a dark wood base with brighter drybrushes and metal details picked out with metallics. To finish off, a few bits of basing material help to cover the edges.
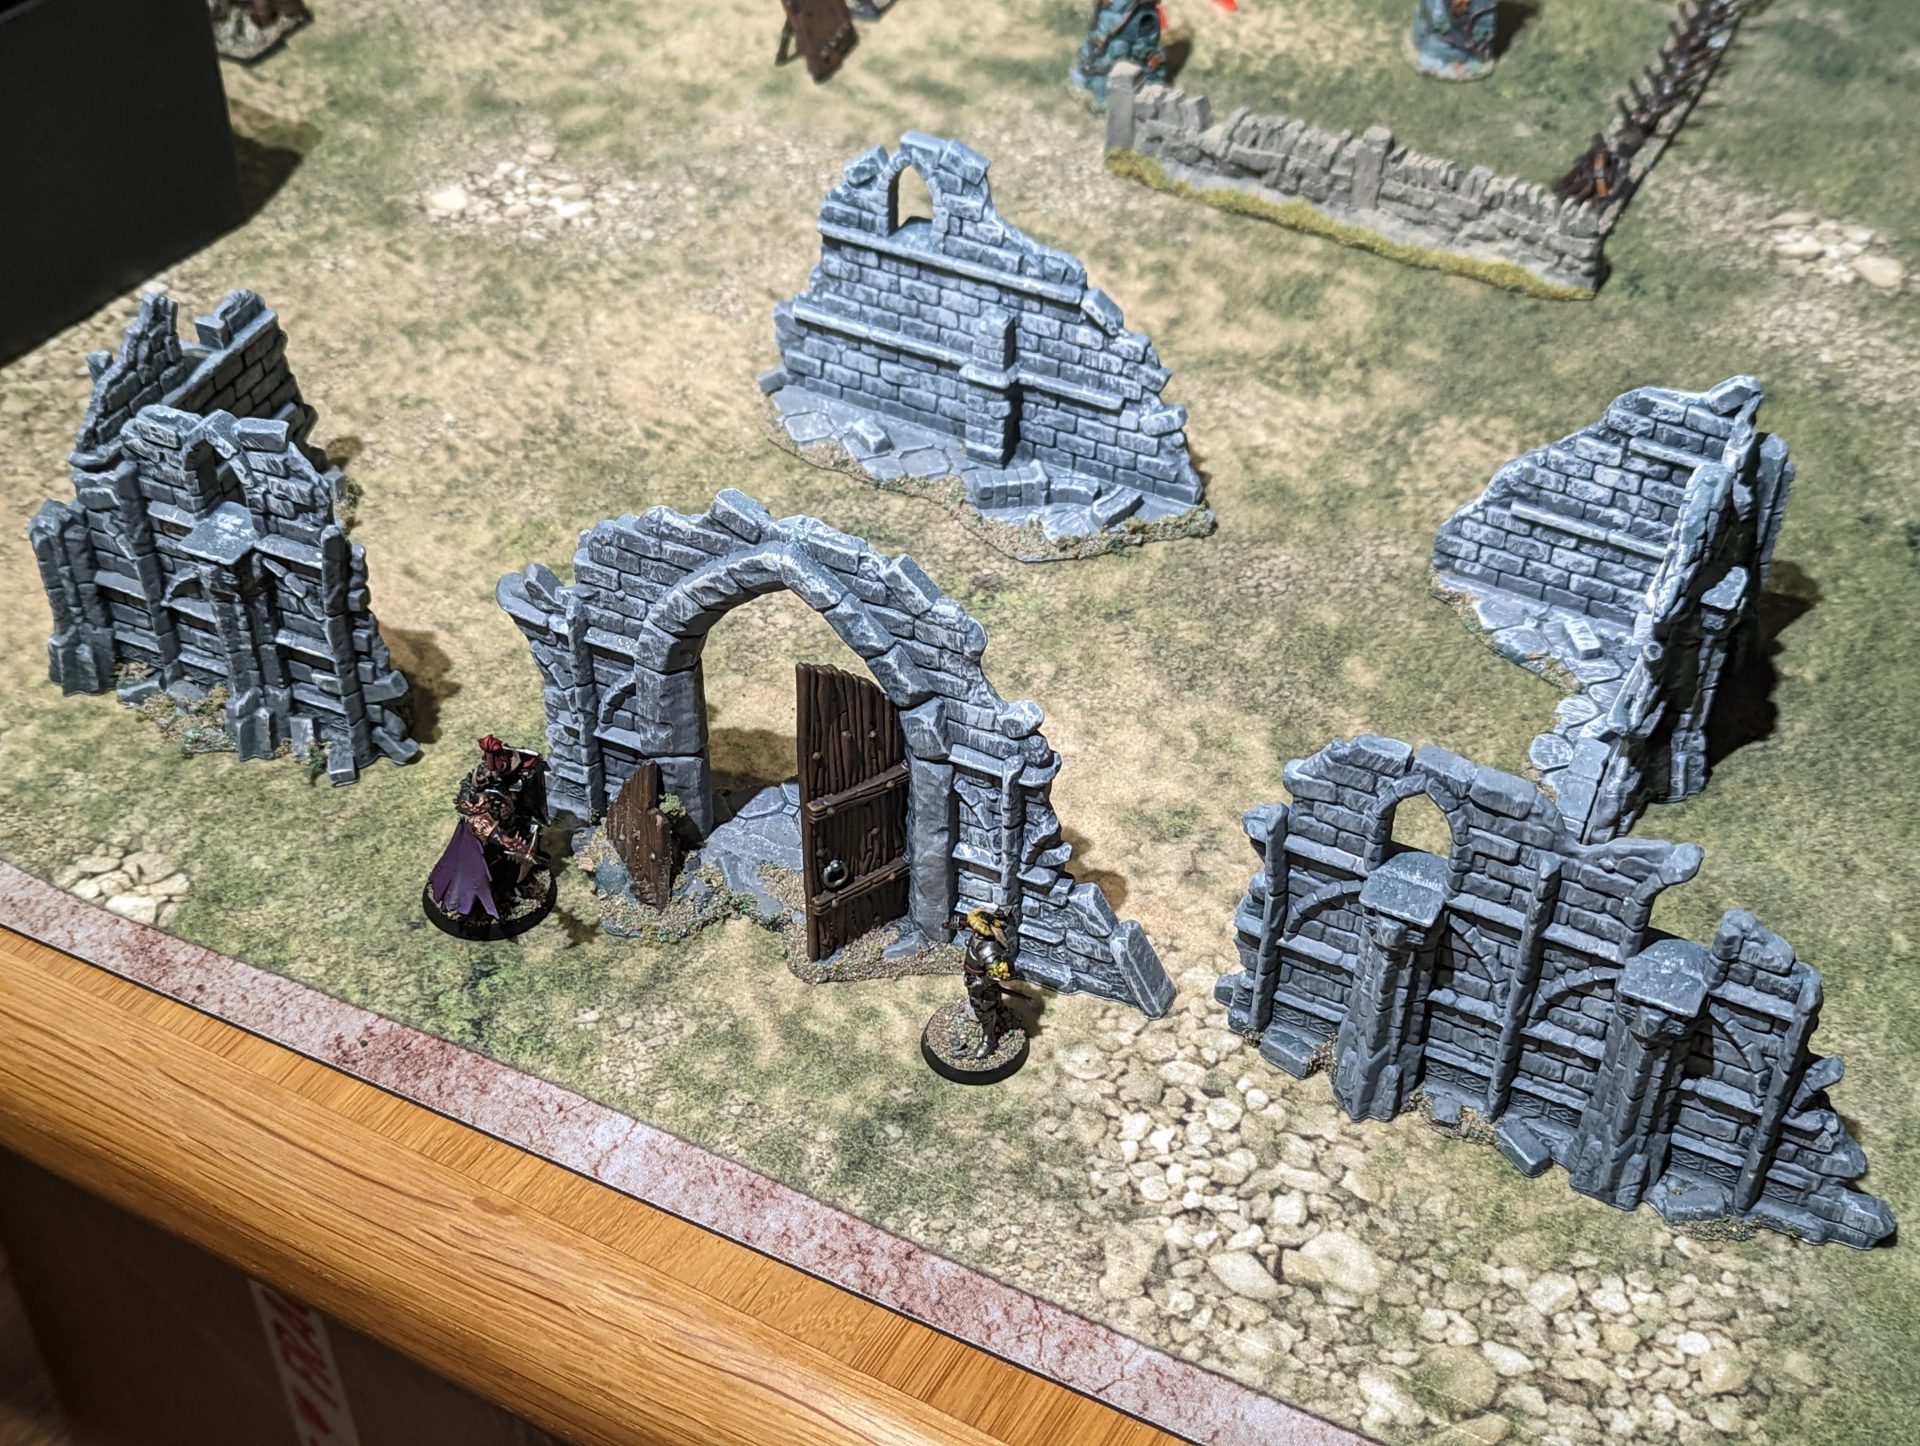
With all these pieces done, I’m super happy with them. Ruins like this can be used in pretty much any fantasy setting, either for an isolated ruin or a city under siege. These are also some pretty sturdy buildings, costing a chunk of resin but I’m not worried about what happens if I drop them. By now, I’d probably start printing them in FDM but this was the test piece to see if I could get away with resin scenery. Maybe one day I’ll print some more of these walls so I can do a comparison.
For now, I’m just continuing to be impressed with what can be done with a 3D printer. With each piece being cost-effective in terms of materials, it’s much easier to impulse print some terrain to add to the collection. But, as you can see, from how long it took to paint up, it’s just as easy for it to drop into the unpainted pile no matter where it came from.
Liked it? Take a second to support Michael Charge on Patreon!
